

> Editorial Note: I’m Hannah Lin, an Interior Living Researcher who’s spent 9+ years analyzing the home furniture market. This guide draws on BIFMA, GREENGUARD, and FSC certifications, plus owner reviews aggregated from Wirecutter, Apartment Therapy, and the major home design subreddits.
Picture frame molding is the cheapest wall upgrade that reads as expensive, and most people overspend on it anyway. A peel-and-stick kit runs $30 to $60 a wall. A carpenter with a miter saw runs ten times that. The gap between them isn’t quality on a plain wall, it’s whether you own the tools and want to cut 45-degree angles by hand. For a renter, or for anyone who’s never touched a coping saw, the pre-made kits close that gap almost entirely. If you’re rethinking the whole room, start with accent wall ideas, then work through wainscoting ideas, gallery wall layout, best wall paint colors, and wall art ideas to see where molding fits before you commit.
The trade-offs are real, though. Adhesive kits go up in an afternoon but can’t survive a heat-and-humidity swing on a poorly primed wall. Nail-up wood trim lasts decades but demands a saw and a level. Below are five kits that cover both camps, sorted by how much work you’re willing to do.
How We Evaluated
We prioritized three specs that actually predict whether a molding job looks finished or looks like a craft project. First, corner treatment: pre-cut mitered corners hide the seam that gives cheap installs away, so kits with factory 45-degree cuts scored higher than raw strips you angle yourself. Second, adhesion method: peel-and-stick foam-core molding needs a clean, primed, low-VOC surface (GREENGUARD-certified paints hold adhesive best), while unfinished wood trim needs brad nails or construction adhesive rated for the wall material. Third, material honesty: FSC-certified wood and dense polymer hold paint and resist the seasonal shrink that opens gaps. We also weighed owner ratings from 4.0 to 5.0 and kit coverage, since a 3-frame set fills one accent wall while a 12-piece bundle handles a full grid.


1. Pangda 3 Set Peel and Stick Kit — Best for Renters Who Can’t Nail the Wall
The Pangda 3 Set is the one most first-timers should start with. It’s a 3D pre-made accent molding kit, which means each frame arrives as finished mitered sections you press onto the wall, no cutting and no nail holes to spackle when you move out. That last part matters for anyone on a lease. The foam-polymer core takes paint the same as the wall around it, so once you roll a coat over the whole surface the frames read as built-in trim rather than stick-ons.
At a 4.3 owner rating across a large review base, it’s the most consistently reviewed kit here, and the complaints cluster around one thing: adhesion on textured or unprimed walls. On smooth, primed drywall it holds. On a heavy orange-peel texture, it doesn’t. The fix is a thin skim of primer or a bead of removable adhesive at the corners. Three frames cover a standard accent wall behind a bed or sofa, and the wainscoting-height layout is the most forgiving to space evenly. It’s not the pick for a full floor-to-ceiling grid, but for one statement wall done in an afternoon, nothing here is easier.
2. 3 Frame Set Peel and Stick Kit — The Cheapest Way to Try the Look
This second 3-frame set is the value entry, and it exists for one buyer: the person who isn’t sure they’ll like molding and doesn’t want to commit real money to finding out. Like the Pangda, it’s a 3D premade accent molding that installs by peel-and-stick, with the same easy-install wall wainscoting and picture-frame layout. The difference is price and finish tolerance. Its 4.0 rating is the lowest in this roundup, and the reason is consistency: some owners report frames that don’t sit perfectly flat until painted and pressed.
Here’s the honest read. If you’re doing a small wall in a low-traffic room, a powder room or a hallway nook, that 4.0 is fine, and you’ll save enough versus the Pangda to buy the paint. If this is the primary wall in your living room, spend up one tier. The corners on this kit benefit most from a caulk line before painting, which erases the seam and pulls the finish up closer to what the higher-rated kits deliver out of the box. Treat it as a low-stakes way to audition the trend, not the last kit you’ll ever buy.
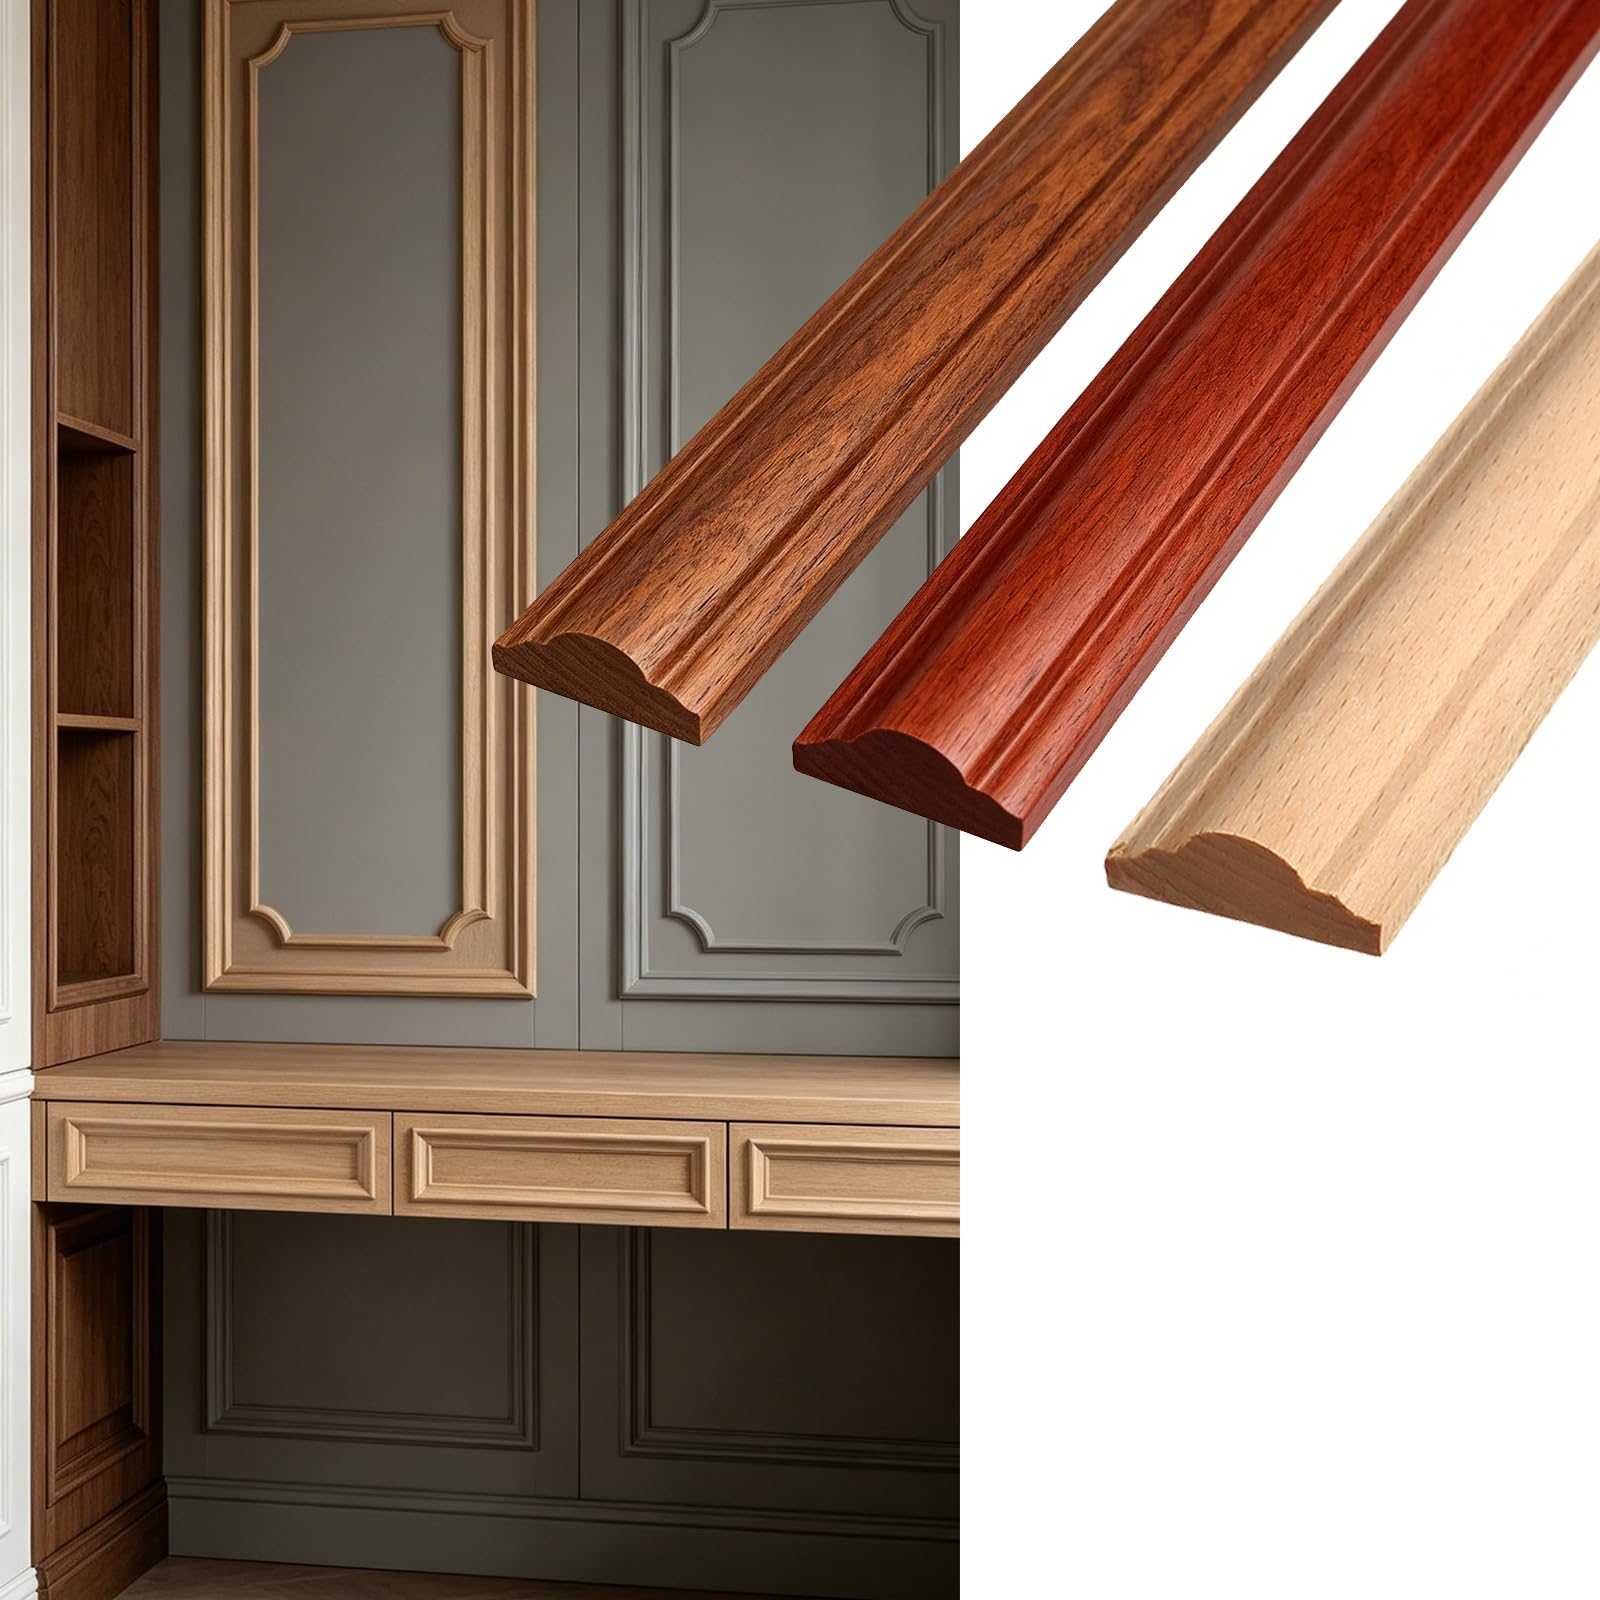
3. Nsrisml 12 Pcs Unfinished Wood Trim — For Whole Walls and Custom Grids
When the peel-and-stick kits run out of coverage, this is where you go. The Nsrisml bundle is 12 pieces of unfinished 3D decorative wood trim, each 15.75 inches, and it earns a 5.0 owner rating from the DIY crowd that wants control over the layout. This isn’t a pre-arranged frame kit. It’s raw stock you cut and combine into whatever grid your wall calls for, which is exactly why it scores so well with people building a full-height paneled look instead of three tidy rectangles.
The catch is method. Unfinished wood means you’re priming and painting it yourself, and 15.75-inch segments mean you’re either butting them into custom lengths or trimming with a hand saw. It’s more work than any adhesive kit here, and it’s the right amount of work if you want the molding to run wall to wall without an obvious repeating pattern. FSC-certified wood like this holds paint better than foam and won’t dent if a chair back hits it. For a whole-wall project where you’re willing to measure twice and paint once, the coverage-per-dollar and the 5.0 rating make it the durable long-game pick.
4. French Style Corner Wall Molding — When You Want Ornate, Not Minimal
Most kits on this list give you clean rectangles. This one gives you decoration. The French-style corner molding is a 7.08-inch paintable decorative trim built specifically for the ornate corners and center medallions that define traditional and Parisian-inspired rooms. It also carries a 5.0 rating, and the buyers leaving it are decorating period apartments and formal dining rooms where a plain box frame would look too spare.
Think of these as accessories rather than the whole system. You pair the corner pieces with straight molding, from any kit here, to build a frame that has actual detail at the joints instead of a flat 45-degree seam. That’s the counterintuitive value: the corners are where cheap molding looks cheapest, and this trim spends its entire budget fixing exactly that spot. It’s paintable, so it disappears into a monochrome wall or pops in a contrasting semi-gloss. If your taste runs warmer and more classic, and the minimalist grid look feels too cold for the room, this is the piece that shifts the whole project toward something that looks commissioned.
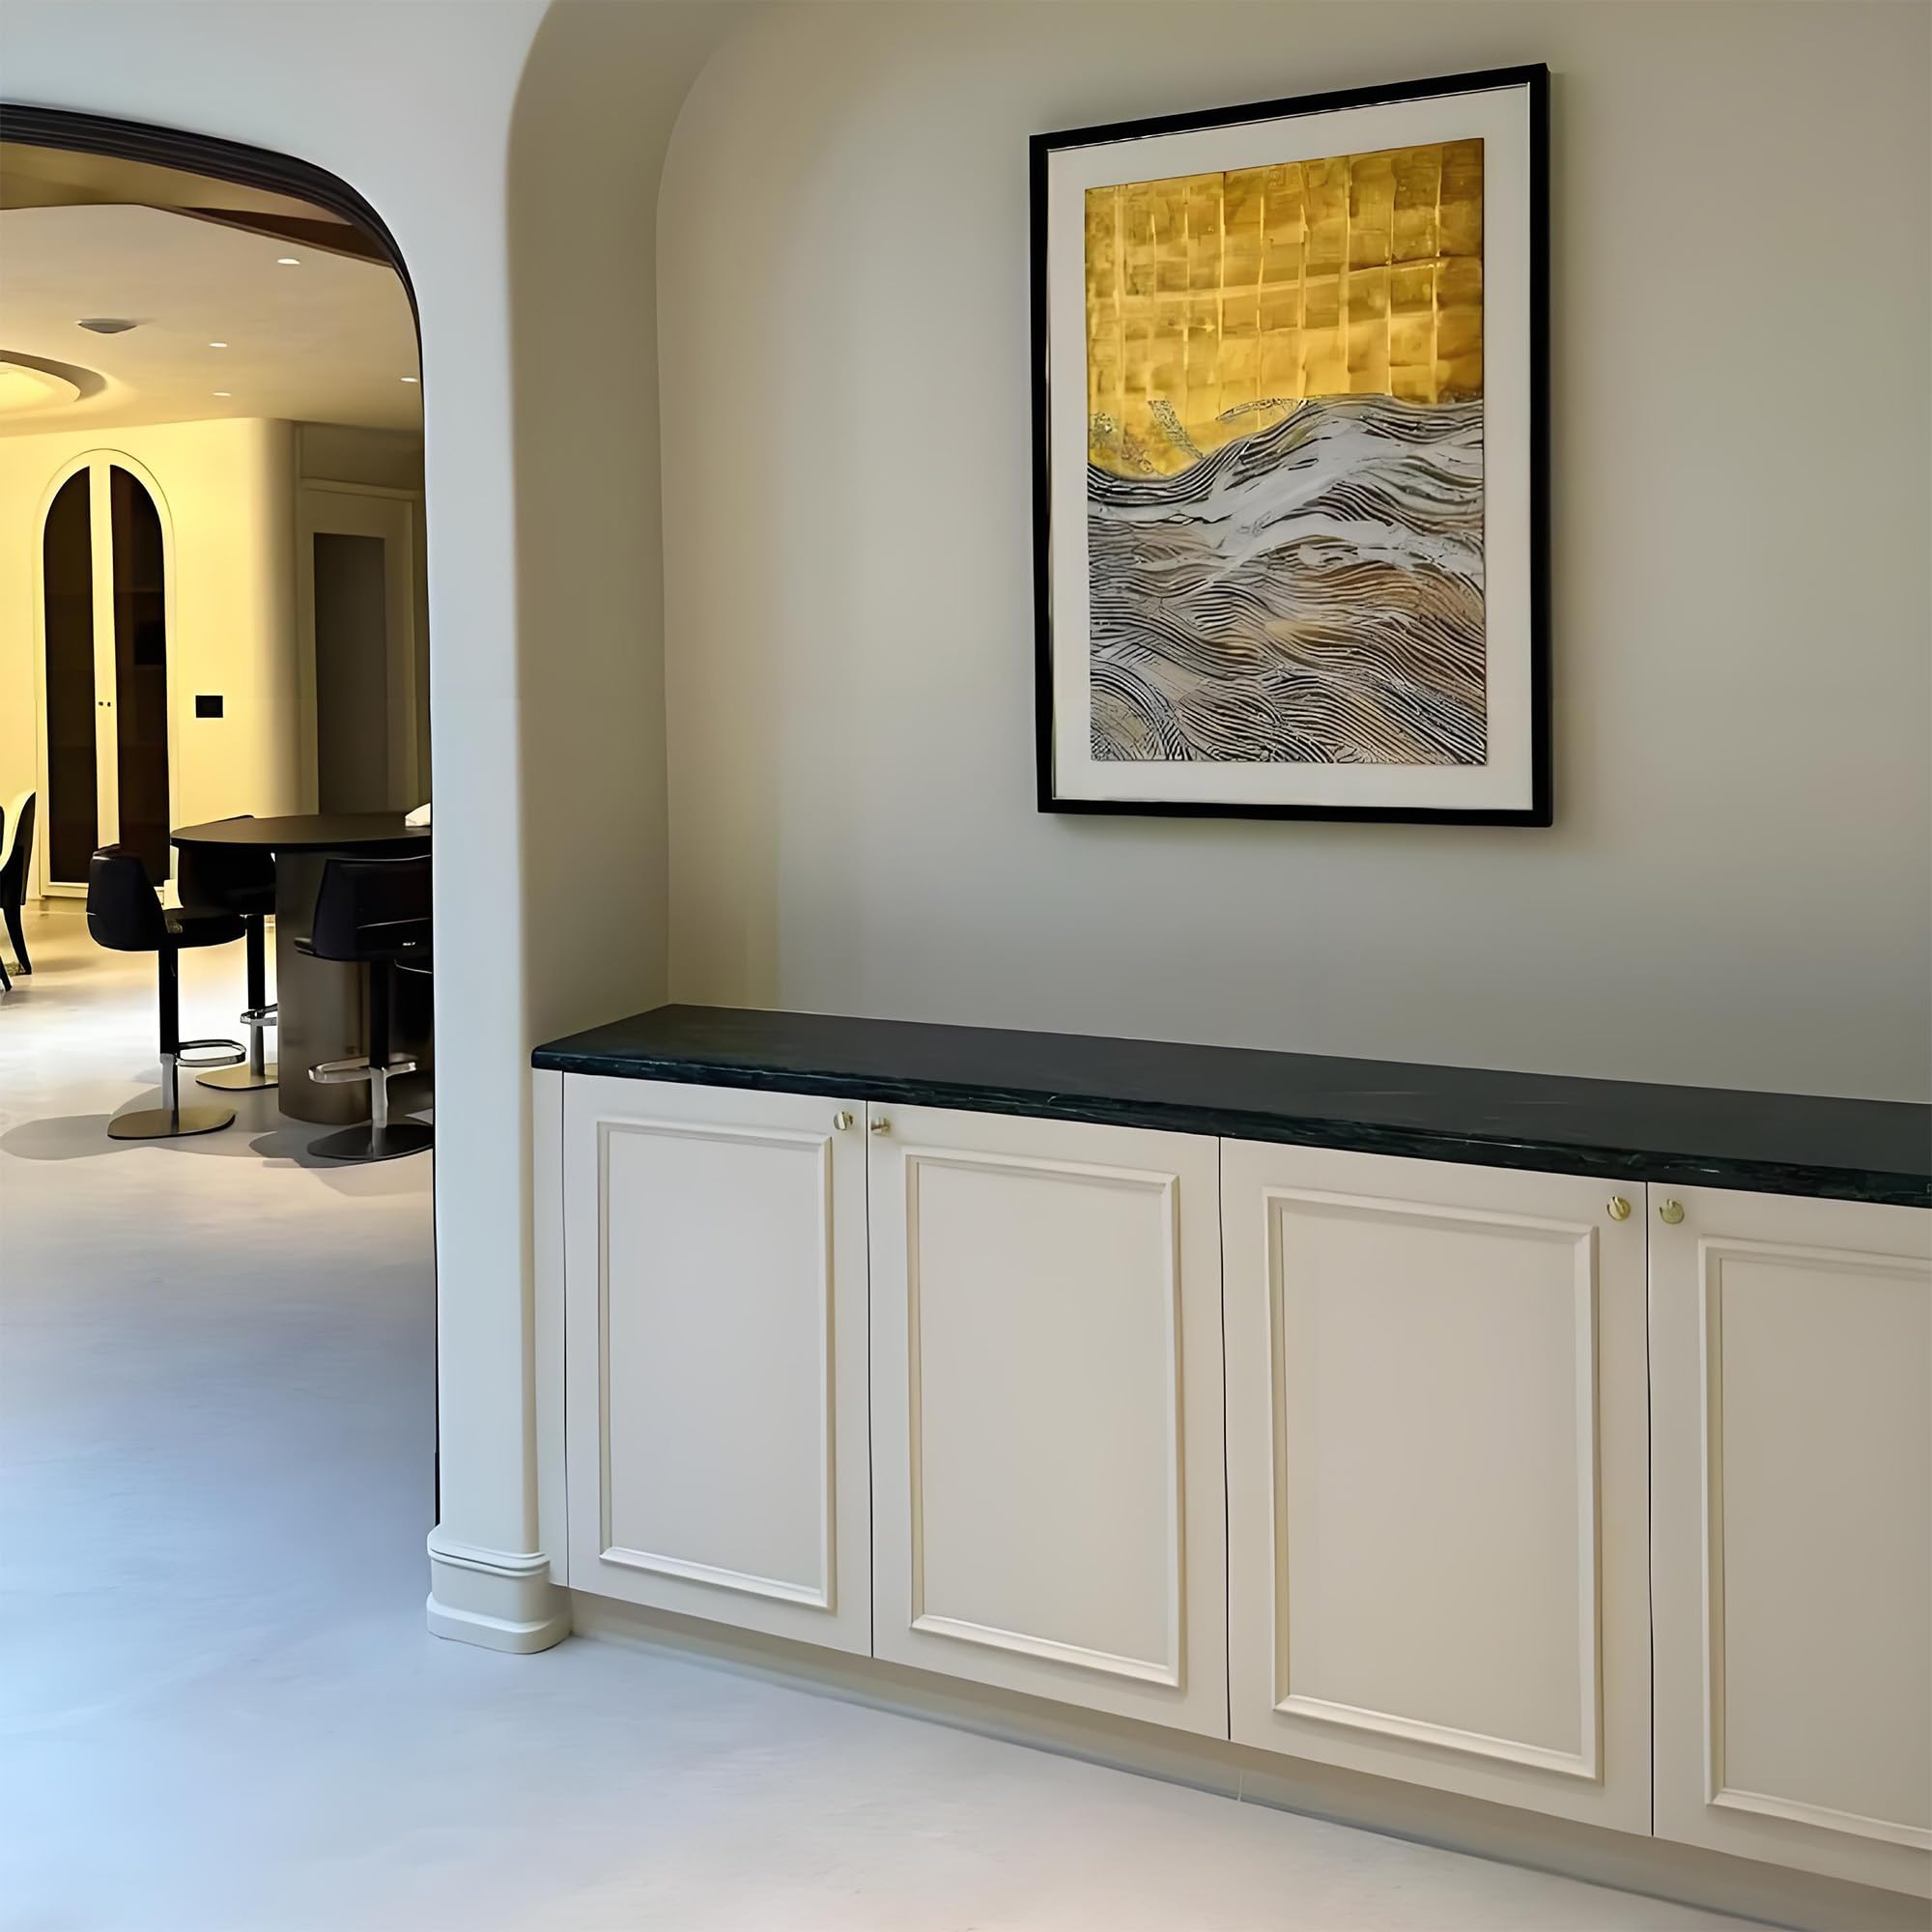
5. 4 Set Pre-Cut Mitered Kit — Pre-Cut So You Skip the Miter Saw
The 4 Set kit solves the single hardest part of installing molding: cutting clean 45-degree corners. Every piece arrives pre-cut and mitered at a fixed 16 x 24-inch frame size, so assembly is closer to laying tile than to carpentry. You peel, align, and press. Four frames also means more coverage than the 3-frame sets, enough for a wider wall or a two-frame-high arrangement, and its 4.2 rating sits right in the reliable middle of this group.
The fixed dimensions are the trade-off worth naming. At 16 by 24 inches, the frames are what they are, and you’re spacing them to fit your wall rather than sizing them to it. On a wall that divides evenly, that’s a feature, since the factory miters guarantee tight corners no first-timer could cut by hand. On an oddly proportioned wall, you’ll have uneven margins at the edges. Measure your wall against the 16 x 24 module before buying. When the math works, this is the fastest route to a professional-looking corner without owning a single power tool.
Comparison Table
| Pick | Kit Size | Install Method | Corner Type | Rating |
|---|---|---|---|---|
| Pangda 3 Set | 3 frames | Peel-and-stick | Pre-made mitered | 4.3 |
| 3 Frame Set | 3 frames | Peel-and-stick | Pre-made mitered | 4.0 |
| Nsrisml 12 Pcs | 12 pieces | Nail/adhesive | Cut-your-own | 5.0 |
| French Corner Trim | Corner accents | Paintable/adhesive | Ornate detail | 5.0 |
| 4 Set Pre-Cut | 4 frames | Peel-and-stick | Pre-cut mitered | 4.2 |
How to Choose the Right Kit for Your Wall
Start with two questions: do you rent, and do you own a saw? If you rent, stay with peel-and-stick, the Pangda, the 4 Set, or the budget 3 Frame, because they come off without patching nail holes. If you own the wall and a saw, the Nsrisml wood trim gives you the most control and the longest life.
Then measure. Peel-and-stick kits come in fixed frame sizes, so the trick is spacing, not sizing. A standard rule from Apartment Therapy’s molding guides: keep a consistent 3 to 6-inch margin between the frame and the ceiling, baseboard, and adjacent frames, and let the wall’s proportions set the exact number. Mark every corner with a level and painter’s tape before you peel anything, because adhesive backing gives you exactly one placement. Surface prep decides everything else. Foam-core molding needs a clean, primed, smooth wall, and a GREENGUARD-certified low-VOC primer both grabs the adhesive and keeps the room’s air clean while you work.
Adhesive Kits vs. Nail-Up Wood Trim: Which Lasts
The split comes down to permanence versus effort. Adhesive kits win on speed and reversibility. You’ll have a full wall done in two to three hours, and a renter can pull it down at move-out. The weakness is environmental: on unprimed drywall, in a bathroom, or through a humid summer, the bond can loosen at the corners first.
Nail-up wood trim, like the 12-piece Nsrisml set, wins on durability and repairability. Brad nails into studs or blocking won’t let go, dents sand out, and FSC-certified wood holds up for decades. The cost is labor and tools, a saw, a nailer or good construction adhesive, a level, and paint. For a forever home, wood. For a rental or a fast refresh, adhesive. Neither is wrong. They’re answers to different questions.
Frequently Asked Questions
Does peel-and-stick molding damage walls when removed?
Usually not, if the wall was primed and painted first. The adhesive releases cleaner from a sealed surface than from bare drywall. Warm the strips with a hairdryer, peel slowly at a low angle, and remove residue with a citrus-based adhesive remover. On raw drywall, expect some paper tearing.
Do I need to paint picture frame molding?
Almost always, yes. Even pre-made kits look like separate stick-ons until a coat of paint unifies the frames with the wall. Paint the whole wall and molding one color for built-in trim, or use a contrasting semi-gloss on the frames for definition. Unfinished wood trim requires priming first.
What size frames should I use?
Match the margins, not a fixed size. Keep 3 to 6 inches between each frame and the ceiling, baseboard, and neighboring frames. On an 8-foot wall, that typically means frames 30 to 40 inches wide. Pre-cut kits like the 16 x 24-inch 4 Set work best on walls that divide evenly into that module.
Will molding hold up in a bathroom or humid room?
Wood trim, yes, if sealed and painted. Foam adhesive kits are riskier in high humidity, since steam and heat can loosen the bond over time. For a bathroom, use nail-up wood with a moisture-resistant primer, or keep adhesive kits to the drier walls away from the shower.
Can I install picture frame molding over textured walls?
Adhesive kits struggle on texture, since the foam backing needs full contact to grip. On light orange-peel, a skim coat of joint compound and primer creates a bond-ready surface. On heavy texture, nail-up wood trim is the more reliable choice because it fastens mechanically instead of sticking.
How many kits do I need for one wall?
One 3-frame kit covers a standard accent wall of about 10 to 12 feet. A 4-frame kit or the 12-piece wood bundle handles wider walls or two-high grids. Measure your wall width, subtract your margins, and count how many frames fit before ordering, since a short kit means an uneven layout.
Bottom Line
The Pangda 3 Set is the one most people should buy, it goes up in an afternoon, comes off clean, and its 4.3 rating is the most trustworthy here. If you own the wall and want molding that outlives the next three paint colors, the 12-piece Nsrisml wood trim is worth the extra labor. And if your corners need to look ornate rather than minimal, add the French-style trim to whatever kit you choose. Just prime the wall first. Every adhesive failure in the reviews traces back to skipping that step.







Write Your Review
No reviews yet. Be the first to share your experience!