

> Editorial Note: I’m Hannah Lin, an Interior Living Researcher who’s spent 9+ years analyzing the home furniture market. This guide draws on BIFMA, GREENGUARD, and FSC certifications, plus owner reviews aggregated from Wirecutter, Apartment Therapy, and the major home design subreddits.
The most common mistake isn’t skipping the wipe-down. It’s running plain water through the machine and calling that descaling, while mineral scale keeps building inside the pump where you can’t see it. That’s the difference between a brewer that lasts eight years and one that sputters out in three. While you’re refreshing the coffee corner, it’s a good moment to look at the shelf around it too: check out our picks for best gallery wall frames, best console table for entryway, best large floor mirror, best wall mirror for living room, and best table lamp for living room. Now, let’s get the Keurig running like new.
How Often Should You Actually Clean a Keurig?
Two schedules, not one. Wipe the exterior, drip tray, and pod holder every week or so. Descale the internal water lines every 3 to 6 months. If you’re on hard water, push that to every 3 months. Soft water buys you closer to 6.
Here’s how to tell without a calendar. Scale announces itself: slower brews, a half-full cup when you asked for a full 10 ounces, louder pump noise, and coffee that tastes flat. A brewer that used to fill an 8-ounce cup in under a minute and now takes two is telling you the lines are lined with calcium and lime. That mineral crust doesn’t just slow water. It insulates the heating element, so your coffee drops below the 192 to 205°F range that pulls flavor from the grounds.
Apartment Therapy’s kitchen editors flag the same tell most owners miss: the reservoir. Standing water grows a slick biofilm at the waterline within days, and no descaling cycle touches that. Empty and rinse the tank every couple of days if you brew daily. Weekly wipe, quarterly descale, daily reservoir rinse. That’s the whole rhythm.
How Do You Descale a Keurig, Step by Step?
Descaling dissolves the mineral scale that plain water can’t. Set aside about 45 minutes and don’t rush the soak.
Start by emptying the reservoir and removing the water filter if your model has one. Pour in the descaling solution, then add water to the fill line following the bottle’s ratio, usually a 1:1 mix for a full 48-ounce tank. Place a large mug on the drip tray. No pod. Run the largest brew size straight into the mug, then dump it. Repeat until the “add water” light comes on.
Now the part people skip: let it sit. Leave the machine on and idle for 30 minutes so the solution works on the interior lines. This soak does most of the real work.
After the rest, rinse thoroughly. Fill the reservoir with fresh water only, then run 12 or more pod-free brew cycles to flush every trace of solution out. Coffee that tastes sour or chemical afterward means you didn’t rinse enough. Run a few more. A single descale won’t strip years of neglect, so if the flow’s still weak, repeat the full cycle once more before giving up on the machine.
How Do You Clean the Needle and Removable Parts?
The exit needle clogs with coffee grounds and dried oils, and it’s the reason a brew comes out weak or half-brewed. Unplug the machine first. Every time.
Lift the handle and find the two needles inside the pod holder area, one on top and one below where the pod sits. Straighten a paperclip and gently work it into each needle hole to dislodge grounds. Keurig also sells a maintenance accessory that pushes water through the needle under pressure, but a paperclip and a steady hand cost nothing.
The removable parts are easier. The drip tray, pod holder, and funnel all pop out and are top-rack dishwasher safe on most models, though hand-washing in warm soapy water is gentler on the plastic over time. Wipe them dry so mineral spots don’t set. The reservoir gets hand-wash only: soap, a soft cloth, no abrasive scrubber that could scratch the plastic and give bacteria a foothold.
Reassemble everything fully dry. A damp pod holder snapped back into place is how mold starts. Wirecutter’s long-term coffee coverage points to the pod holder and exit needle as the two spots that decide whether a Keurig stays reliable past year three.
What Should You Never Use to Clean a Keurig?
Skip the bleach. It’s too aggressive for the internal plastics and nearly impossible to rinse fully from the water lines, which means it can taint your next dozen cups. Abrasive pads are out too. They scratch the reservoir, and every scratch is a place bacteria settles in.
White vinegar is the great debate. It works as a descaler in a pinch at a 1:1 vinegar-to-water ratio, and it’s cheap. But the smell clings to the lines, so you’ll need extra rinse cycles, and Keurig warns that vinegar can void some warranties and degrade seals faster than a purpose-made solution. If you go the vinegar route, run at least 15 fresh-water cycles after.
Two more don’ts. Don’t put the reservoir or lid in the dishwasher unless your manual specifically clears it, since heat can warp the fit. And don’t ignore the water you use day to day. Filtered or bottled water cuts scale buildup dramatically compared to hard tap, which stretches the gap between descales and protects the heating element. The cleaning routine matters. The water you pour in matters just as much.
Helpful Picks
Below are the maintenance products owners rate highest, filtered for a 4.5-plus rating and confirmed Keurig compatibility. Start with the first if you want the manufacturer-matched formula; the second is a universal descaler if you own more than one brand of brewer.
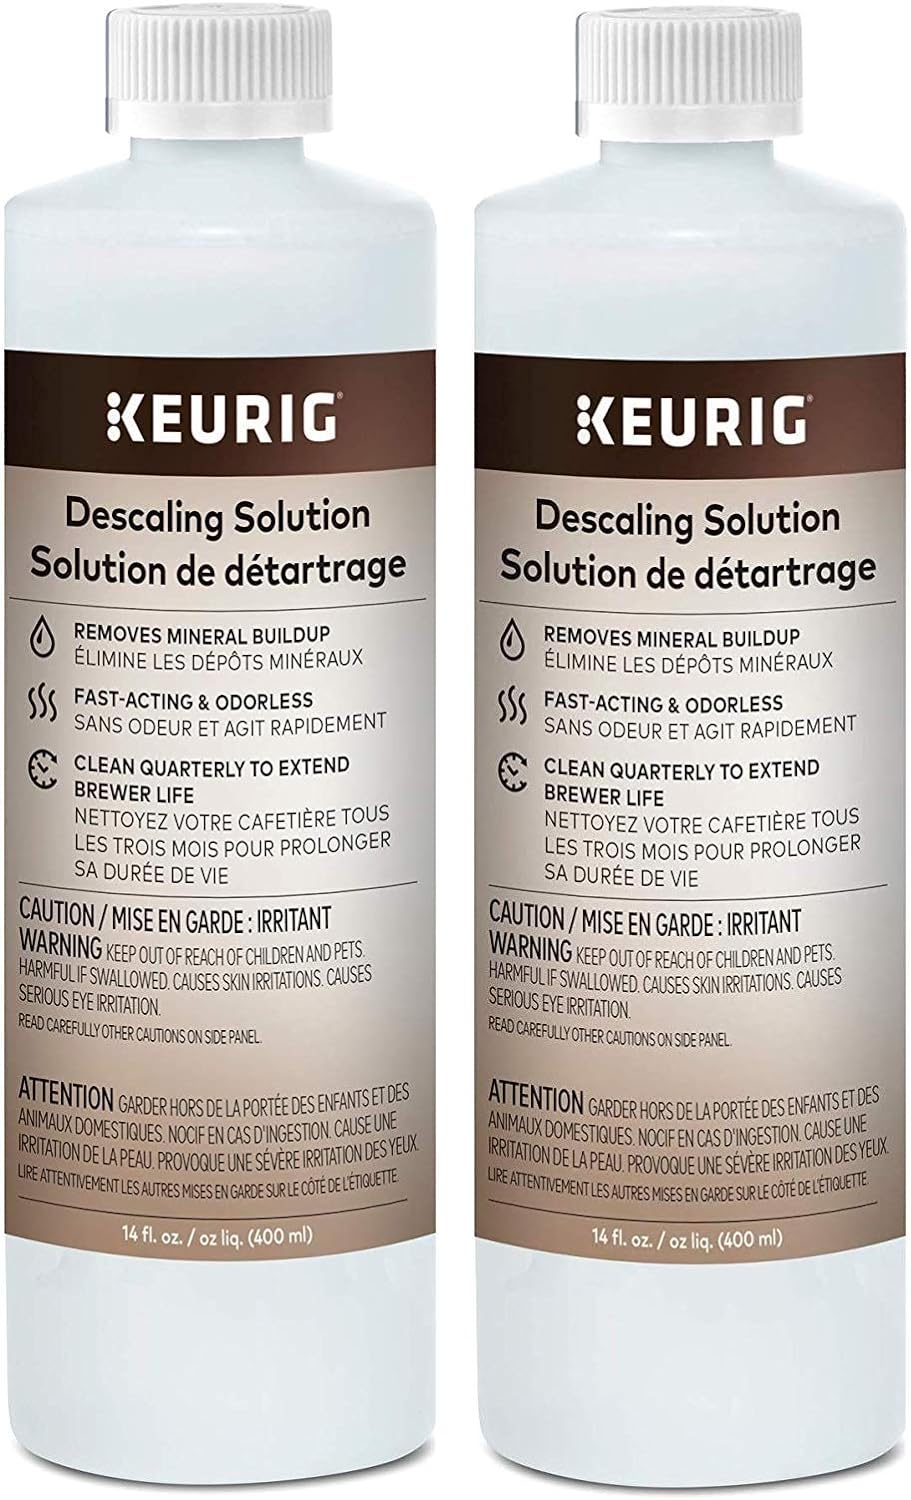
Keurig Descaling Solution 28 oz -- Official Brewer Cleaner for Classic 1.0 and 2.0 K-Cup Coffee Makers
Pros
- Manufacturer-approved formula eliminates compatibility concerns that third-party cleaners can introduce
- 28 oz size covers more than one descaling cycle, offering better value per use than smaller bottles
- Straightforward process compatible with the built-in descale mode on supported Keurig models
- Helps maintain consistent brew temperature and cup volume over the machine's lifespan
Cons
- Priced higher per ounce than several comparable third-party descaling solutions available on Amazon
- Only compatible with Keurig Classic 1.0 and 2.0 brewers, so it does not cover newer Keurig models like the K-Supreme or K-Slim
If your morning coffee has started tasting a little off, or your brewer seems to be running slower than it used to, scale buildup is almost always the culprit. Keurig's own descaling solution is the most direct fix because it is formulated specifically for how these machines are built, so you are not experimenting with a generic cleaner and hoping for the best.
There is something genuinely satisfying about running a descaling cycle and watching your brewer return to its original pace. The 28 oz bottle is generous enough to handle more than one session, which means you can stay on a regular maintenance schedule without constantly reordering. It stores neatly under the counter or in a cabinet, out of the way until you need it.
If you want reliable brew performance and a longer machine life without the risk of using the wrong product, this one delivers.
Styles it works with: This is a functional maintenance product rather than a decor item, so it suits any kitchen aesthetic including Modern, Farmhouse, Minimalist, and Traditional.
Best placed in: Kitchen cabinet under the counter, pantry shelf, or a cleaning supplies drawer near your coffee station.
May not suit: Households that do not own a Keurig Classic 1.0 or 2.0 brewer, or anyone who has already upgraded to a newer Keurig model that requires a different descaling process.
Buy it if:
- You own a Keurig Classic 1.0 or 2.0 brewer and want to use the manufacturer-recommended solution with no compatibility risk
- Your machine has been running slower, brewing at a lower temperature, or producing weaker-tasting coffee than it used to
- You prefer to stock a larger bottle so you can descale every 3 to 6 months without reordering each time
Consider waiting if:
- You have a newer Keurig model such as the K-Supreme, K-Slim, or K-Cafe, which may require a different descaling product or process
Skip it if:
- You do not own a Keurig and are looking for a universal descaling solution compatible with other coffee machine brands
- You already have an unopened bottle of Keurig descaling solution and are simply looking for a backup before the current one is used
Check the latest price and availability on Amazon before it sells out.

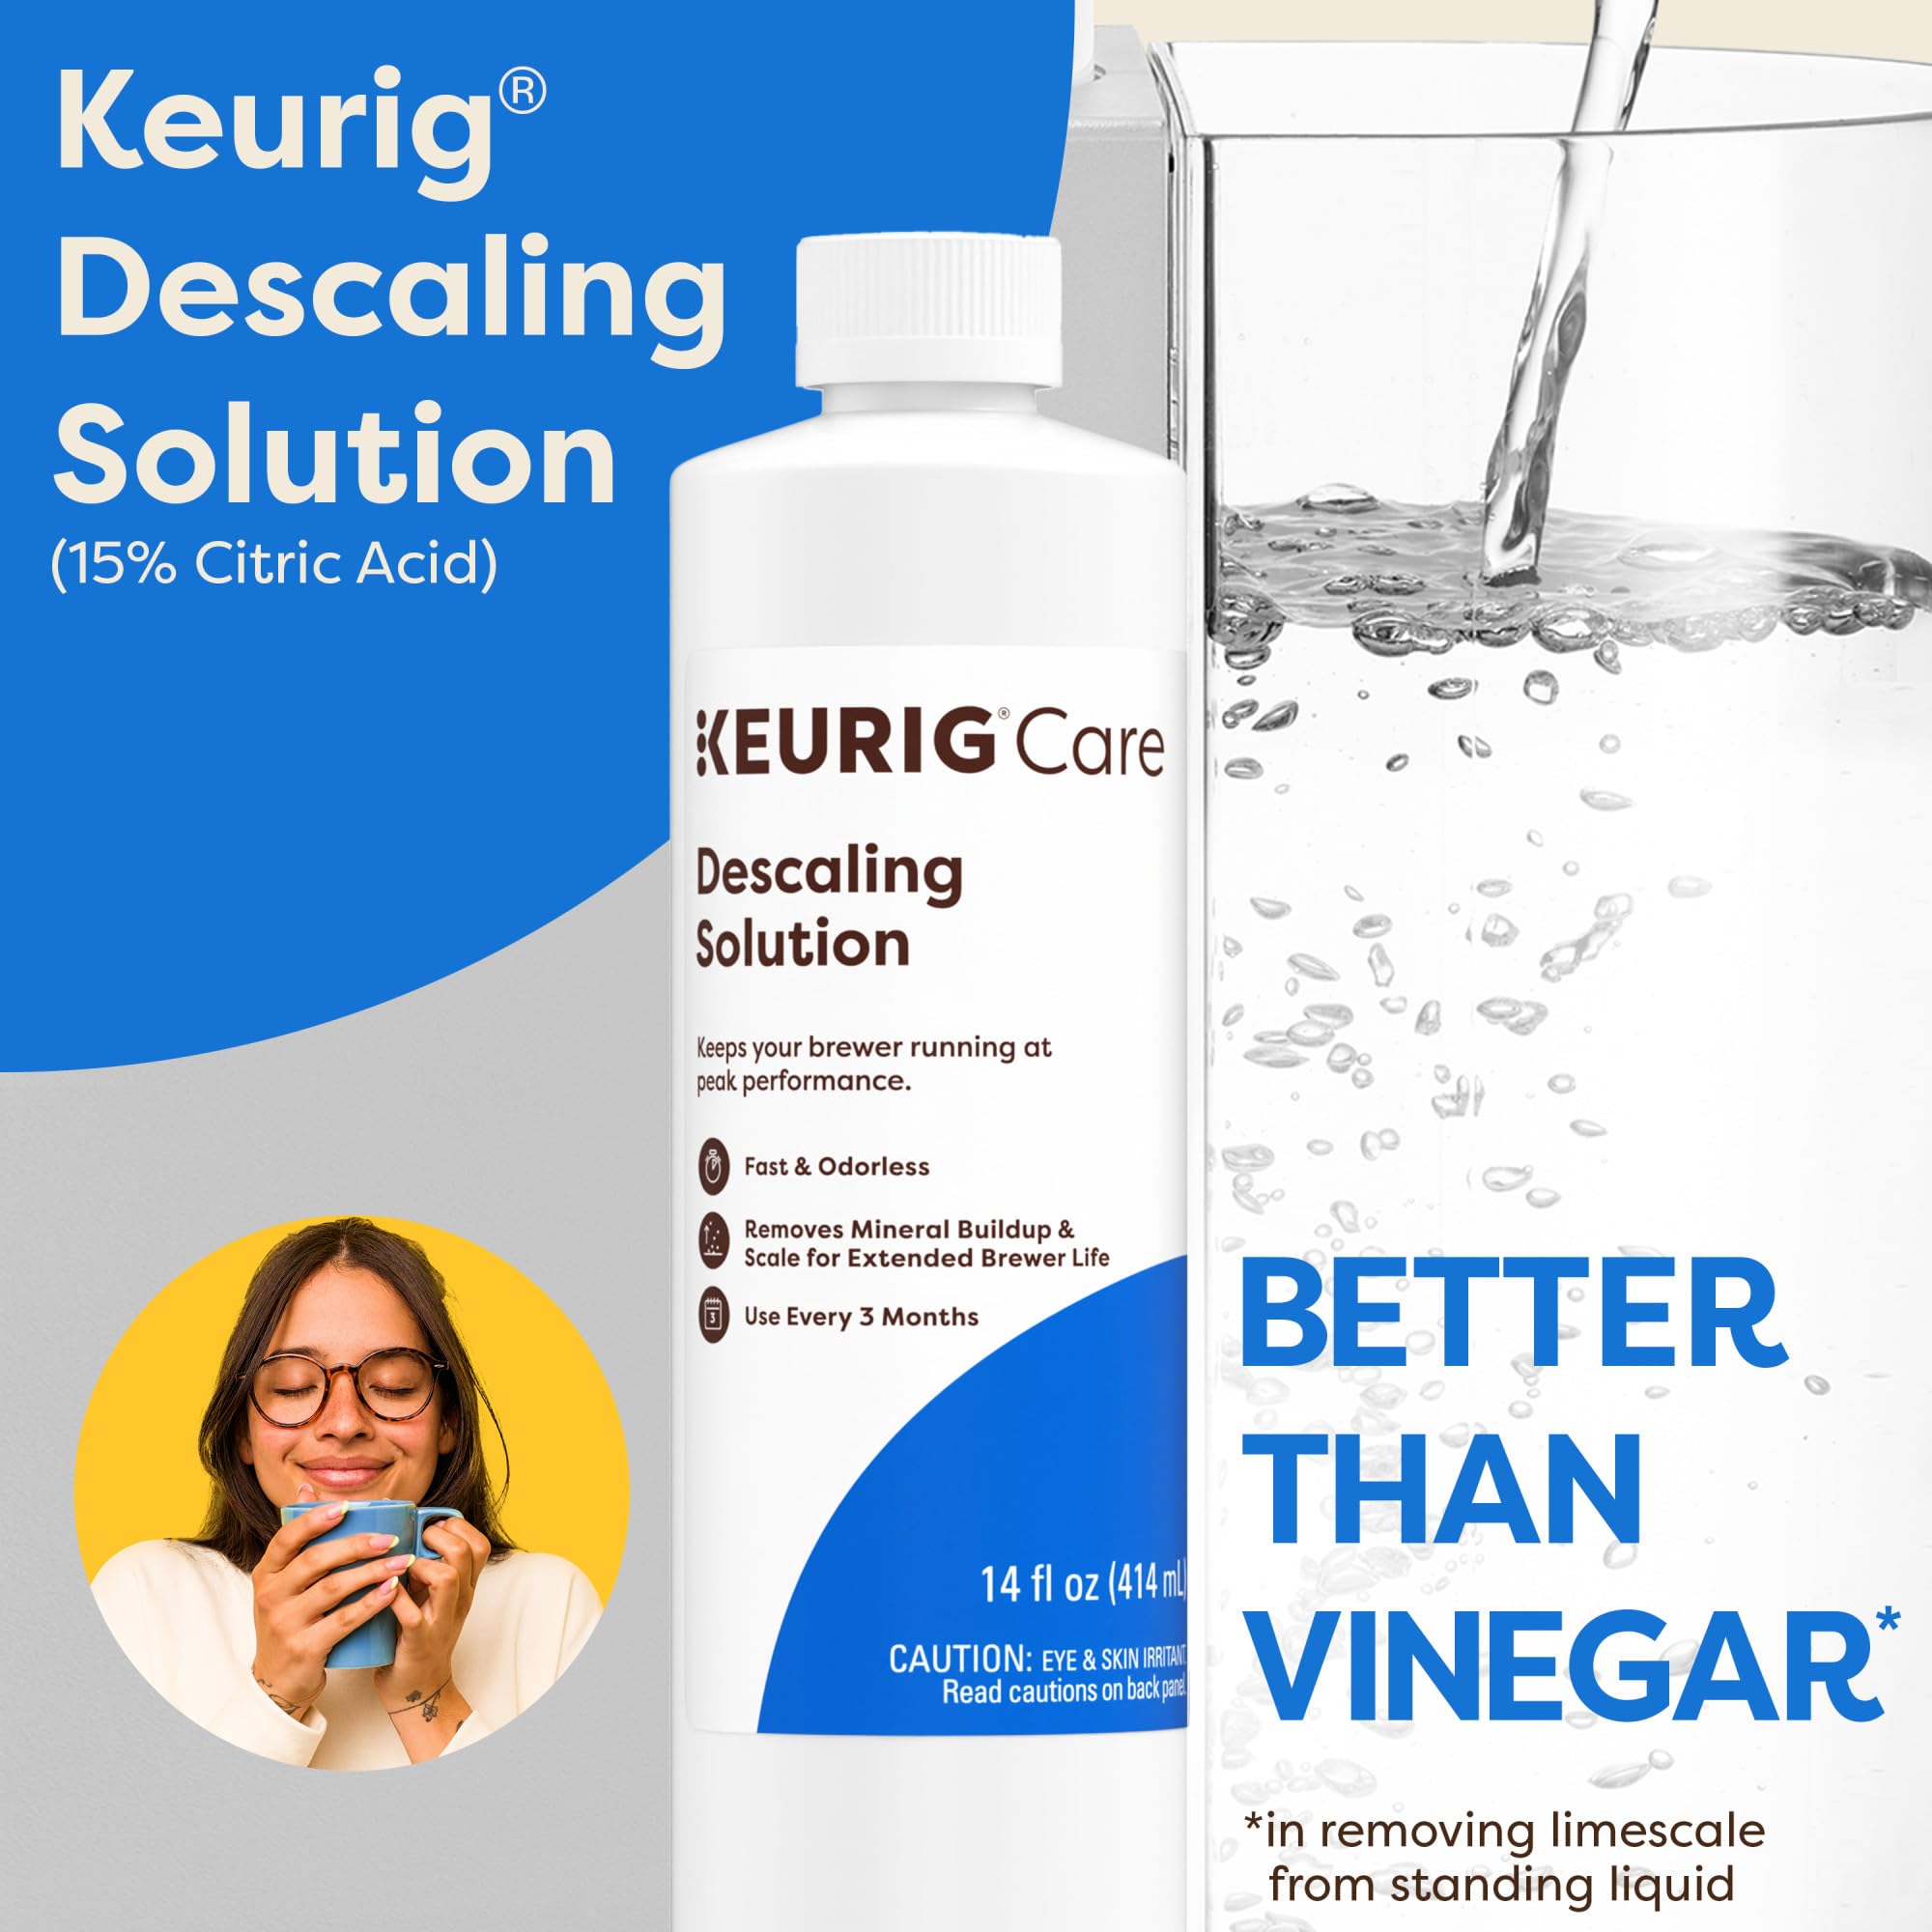
Angelino's Universal Coffee Machine Descaler – 4 Uses, Odorless, Works with Keurig, Nespresso, Breville & More
Pros
- Broad universal compatibility covers almost every popular coffee machine brand on the market
- Odorless and residue-free formula means no aftertaste carries into your next brew
- Four uses per pack offers strong value at the price point compared to single-use alternatives
- Food-safe citric acid is a proven, gentle descaling agent that is effective without harsh chemicals
Cons
- No reviews yet on this listing, so real-world performance across all compatible machines is unconfirmed
- Each bottle delivers two uses, meaning you need to keep track of separate bottles within the pack
- May not be accepted as a brand-approved descaler for machines still under manufacturer warranty
If your morning coffee has started tasting a little flat or your machine is taking longer than usual to brew, limescale is almost certainly the culprit. Angelino's Descaling Solution tackles that problem directly with a food-safe citric acid formula that dissolves mineral buildup without leaving any chemical smell or taste behind. It is one of those unglamorous products that quietly makes a noticeable difference the moment you use it.
What makes this stand out in a crowded category is genuine versatility. Whether you run a Keurig in the kitchen, a Nespresso on the countertop, or a DeLonghi espresso machine on the weekend, one pack covers your whole household for an entire year of quarterly treatments. That kind of all-in-one convenience is hard to beat for the price.
If you want consistently great-tasting coffee without the expense of early machine replacement, this one delivers.
Styles it works with: Modern, Minimalist, Farmhouse, Contemporary
Best placed in: Kitchen countertop setup, home office coffee station, open-plan kitchen and living space
May not suit: Households where the coffee machine is still within its manufacturer warranty period and requires brand-specific descaling products, or buyers who use a manual pour-over or French press setup that does not require descaling
Buy it if:
- You own one or more automatic coffee machines and have not descaled them in the past three months
- You want a single product that works across every machine in your home without buying brand-specific solutions
- You have noticed slower brew times, weaker coffee, or a drop in brewing temperature from your machine
Consider waiting if:
- Your machine manufacturer explicitly requires a proprietary descaler to maintain the warranty, and you are still within that coverage period
Skip it if:
- You only use non-electric brewing methods like French press or pour-over that do not accumulate limescale
- You live in an area with very soft water and have never experienced any mineral buildup in your appliances
Check the latest price and availability on Amazon before it sells out.

Keurig Brewer Cleanse Kit - Descaling Solution & 4 Rinse Pods for Classic 1.0 & 2.0 K-Cup Coffee Makers
Pros
- Official Keurig brand formula designed to work safely with all compatible Keurig brewers
- Includes both descaling solution and rinse pods so nothing extra needs to be purchased
- Works with a wide range of Keurig models including the popular K-Mini series
- Affordable entry price makes routine maintenance easy to commit to on a budget
Cons
- No reviews available yet, so real-world performance and reliability cannot be confirmed from customer feedback
- Kit only covers one full cleaning cycle, meaning repeat purchases are needed for ongoing maintenance
- Descaling solution bottle quantity is not specified, making it difficult to gauge value versus third-party alternatives
There is something satisfying about giving your coffee maker a proper deep clean, and the Keurig Brewer Cleanse Kit makes that process simple and approachable. Rather than hunting down separate products or guessing whether a third-party solution is safe for your specific machine, this official kit gives you exactly what Keurig recommends in one tidy package.
The combination of descaling solution and rinse pods reflects a thoughtful two-step approach: first you break down the limescale and mineral deposits that build up inside the heating element, then the rinse pods sweep away any leftover residue before your next brew. It is a routine that takes less than an hour and genuinely refreshes how your coffee tastes, especially if you have been skipping maintenance for a few months.
For anyone who keeps a Keurig on their kitchen counter as a daily driver, this kit fits naturally into a seasonal cleaning routine without demanding much effort or expense. If you want consistently great-tasting coffee without the guesswork of DIY cleaning methods, this one delivers.
Styles it works with: Modern Kitchen, Minimalist, Scandinavian, Contemporary
Best placed in: Kitchen counter cabinet or drawer, pantry shelf, home office break area
May not suit: Households that do not own a Keurig brewer, or kitchens where a non-Keurig pod system is the primary coffee maker
Buy it if:
- You own a Keurig Classic 1.0 or 2.0 brewer and have not descaled it in the past three to six months
- You want an official, brand-approved cleaning solution rather than a generic alternative
- Your coffee has started tasting slightly off or your brewer is running slower than usual
Consider waiting if:
- You recently purchased a multi-pack of third-party descaling solution and still have supply remaining
Skip it if:
- You do not own a Keurig brewer, as this kit is not compatible with other pod coffee systems
- You are looking for a bulk supply kit that covers multiple cleaning cycles rather than a single-use solution
Check the latest price and availability on Amazon before it sells out.
Frequently Asked Questions
Can I use vinegar instead of descaling solution?
Yes, but with caveats. White vinegar at a 1:1 ratio with water dissolves scale effectively and costs almost nothing. The downsides are a lingering smell that demands 15-plus rinse cycles and the risk of degrading internal seals faster than a purpose-made formula. For occasional use it’s fine; for a long-term routine, a dedicated descaler is easier on the machine.
How often should I descale my Keurig?
It depends on your water. Every 3 to 6 months covers most people, but hard water shifts that toward every 3 months and soft water toward every 6. Slower brews, a half-filled cup, or a louder pump are your real signals. Trust the symptoms over the calendar.
Is it safe to run the Keurig without a pod during cleaning?
Yes. Running pod-free brew cycles is exactly how you flush descaling solution and rinse water through the internal lines. Just place a large mug on the drip tray each time and empty it between cycles so nothing overflows.
Why is my Keurig still brewing slowly after descaling?
Almost always leftover scale or a clogged needle. Years of buildup rarely clear in one cycle, so repeat the full descale once more. If the flow’s still weak, straighten a paperclip and clean the exit needle, which traps grounds that no descaling touches.
Can I put Keurig parts in the dishwasher?
It depends on the part. The drip tray, pod holder, and funnel are top-rack dishwasher safe on most models. The reservoir and lid should be hand-washed only, since dishwasher heat can warp their fit and ruin the seal against the machine.
Does the type of water I use affect cleaning frequency?
Yes, significantly. Hard tap water deposits calcium and lime with every brew, forcing descales as often as every 3 months. Filtered or bottled water cuts that buildup sharply and can stretch the interval to 6 months, while protecting the heating element.
Will cleaning my Keurig make the coffee taste better?
Yes. Scale insulates the heating element and drops brew temperature below the 192 to 205°F sweet spot, which flattens flavor. Old coffee oils on the needle and pod holder add a stale, bitter edge. A clean machine at proper temperature is the single biggest taste upgrade most owners notice.








Write Your Review
No reviews yet. Be the first to share your experience!